My Cosy Reading Nook without any Bookshelves
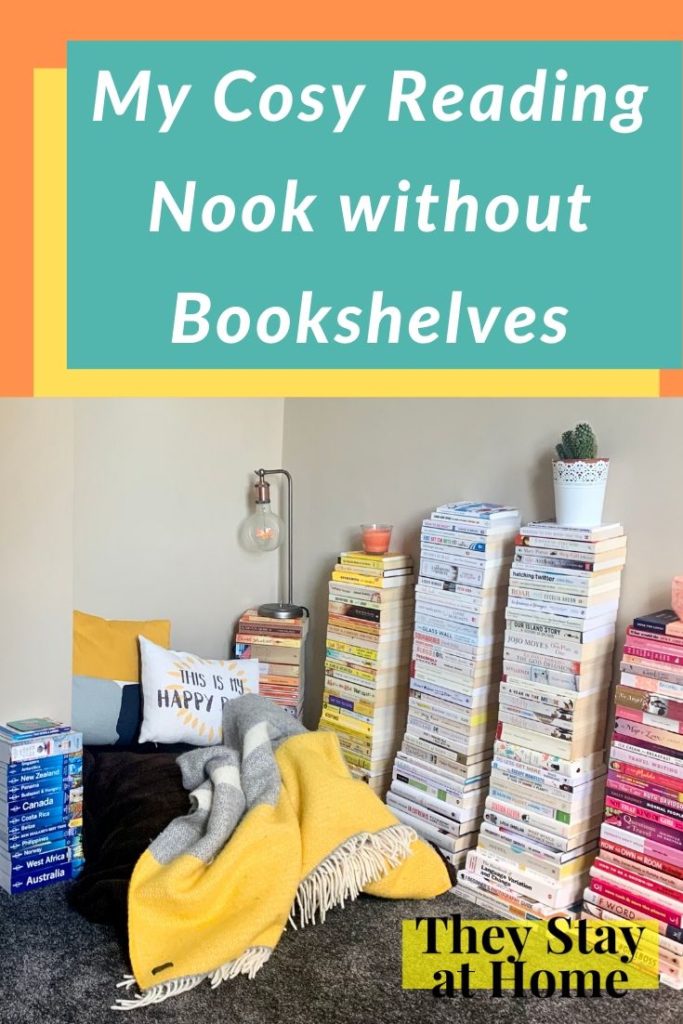
I finally created a little reading nook without any bookshelves and without spending any money! I love books, love reading them, love buying them and perhaps most of all just love admiring them on shelves… or not on shelves, but out in the open.
We moved into our house 6 months ago and we still haven’t put up any bookshelves. They’ve all been hidden away in boxes in the basement. Except for my most recently bought and read books, which sit on my bedside table or the few shelves I have in the office.
I love seeing my books out on bookshelves and have dreamed of a library of my own for years. I have a leather arm chair that is just waiting to be put inside the library one day, maybe some ladders on wheels to slide around the room too. A girl can dream!
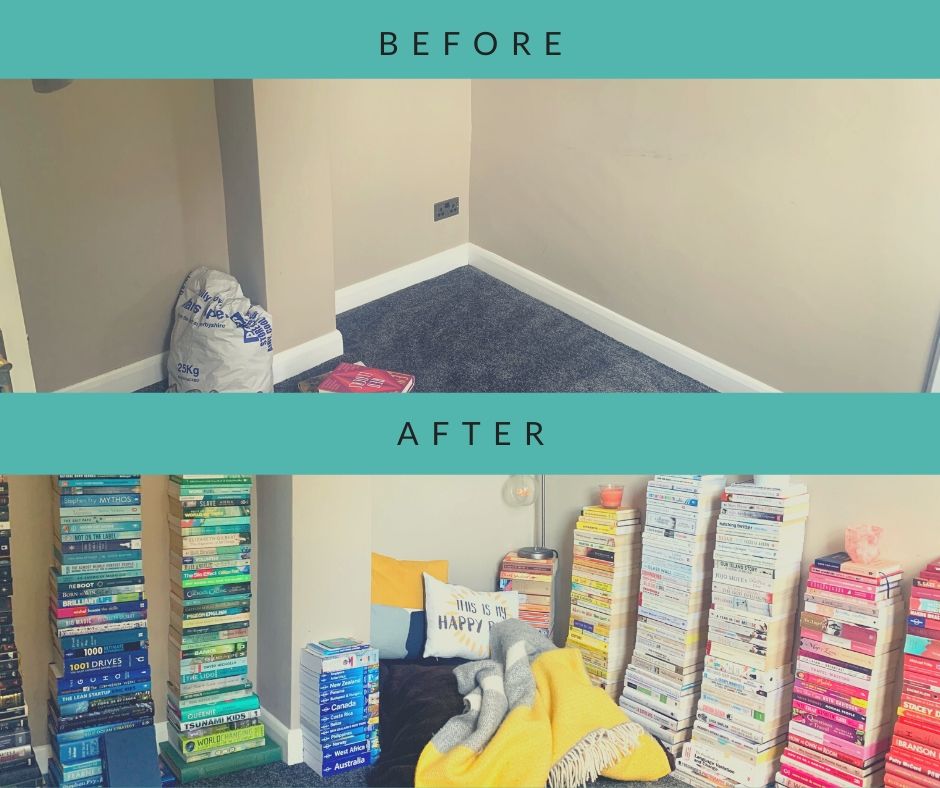
So 6 months in our new house and I was desperate to get the books out of the basement. Finally this weekend I got them out of storage! However it’s not so easy to get shelves right now, so I improvised. I lived with books stacked on the floor in our last place for 2.5 years, so maybe I am destined to have my books without bookshelves.
I went back to my favourite way of ‘organising’ my books, in colour coded rainbows and I love it!
Creating a Reading Nook without any bookshelves
You don’t really need a blog post to tell you how to create a reading nook without any bookshelves. That’s quite simple. But here is one anyway, mainly so I can show off how cute my reading nook is. I think so anyway…
Simple steps to creating a reading nook without spending any money
Step 1: Decide on where your nook is going to be.
I decided to create a reading nook in the dining room, or at least that’s what we’re currently using it for at the moment. It’s a small room that we have a tiny two seater picnic table and chairs in right now as our dining table. The rest of the room has been used as a dumping ground, including pictures that need to be put on the walls, empty shopping bags and shoes that well, just get dumped there.
I cleared the space and started dragging all the books up in boxes from the basement. Ultimately I hope to paint this room (I’m not a fan of brown walls!) or perhaps it will form part of an extension but who knows right now.
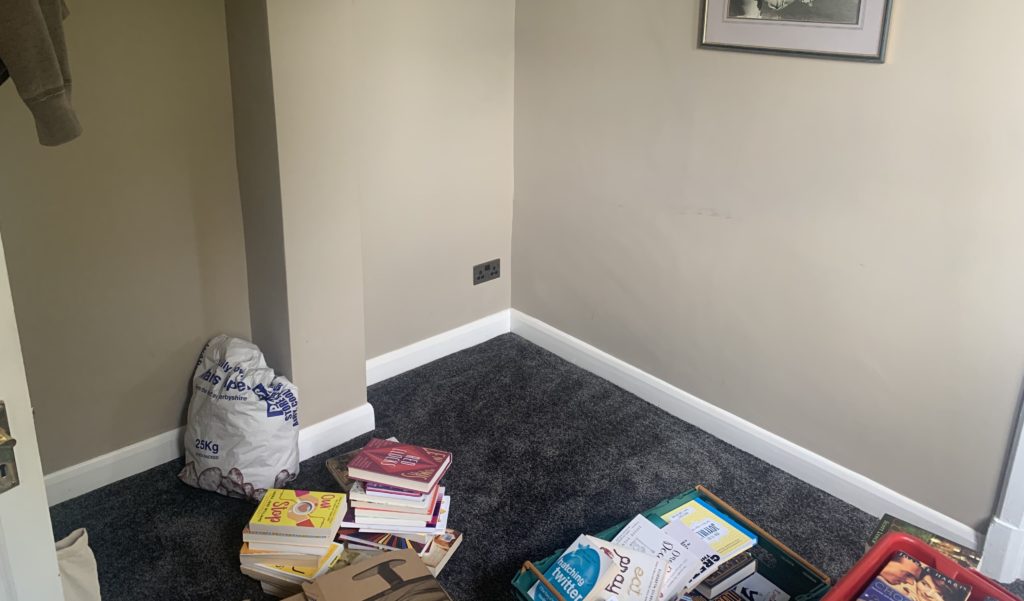
Step 2: Gather all your books and sort your books into piles by colour.
Take note of the colour of the spine as this is what’s on show, it’s often a different colour to the front cover.
I had a surprisingly high number of blue books and definitely not enough yellow considering how much I love that colour! Not that you should judge a book by its cover of course, it’s the words inside that count.
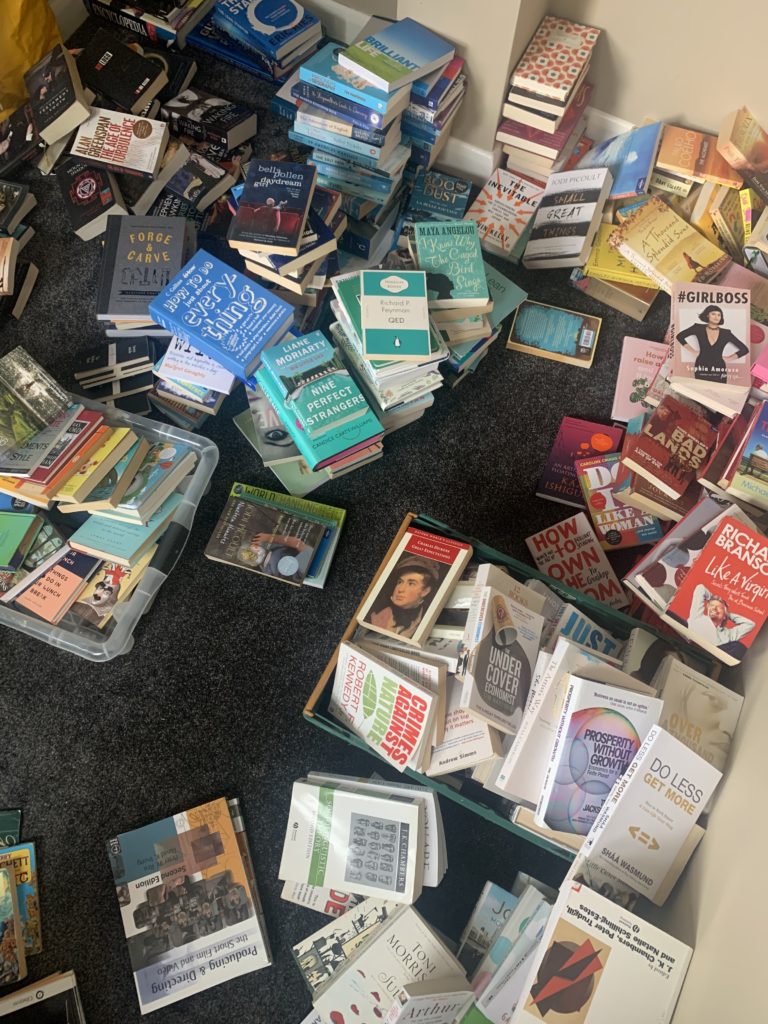
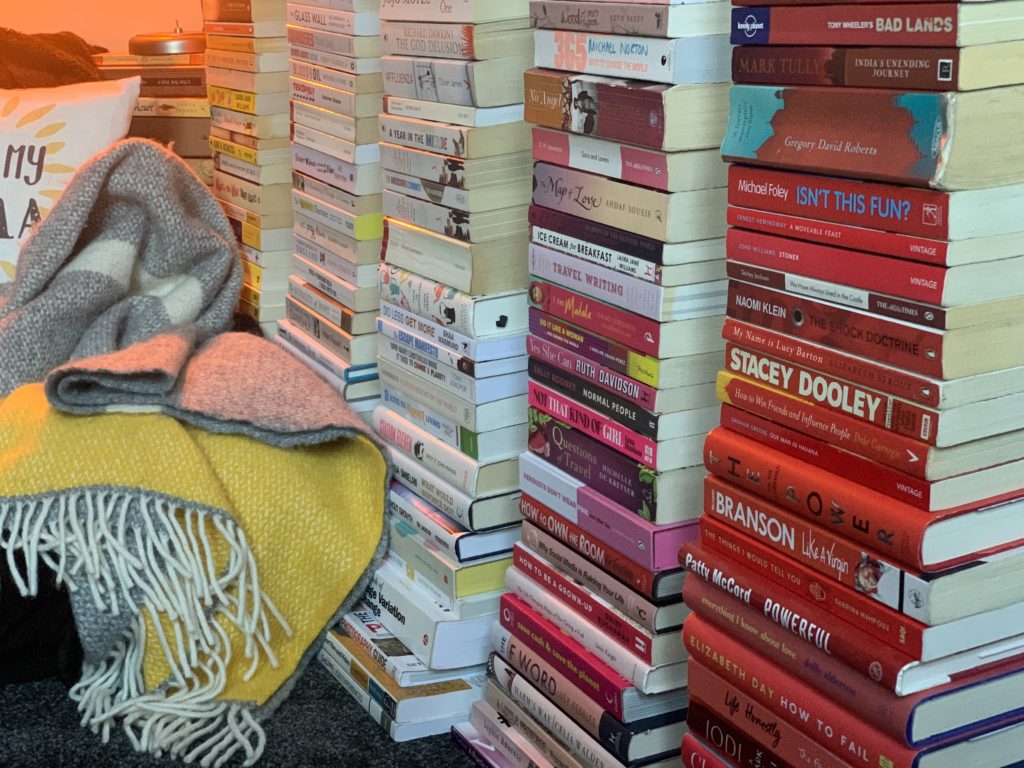
Step 3: Start stacking your books, with the largest at the bottom!
Don’t go too high or they will start to topple. I think a couple of mine may need halving soon as I’ve stacked them too high.
Step 4: Give away some books for charity or friends
While sorting through my books I removed a few for the charity shop. I don’t like getting rid of books but generally my rule is if I’m unlikely to ever read it again or didn’t love it when reading I will give it away.
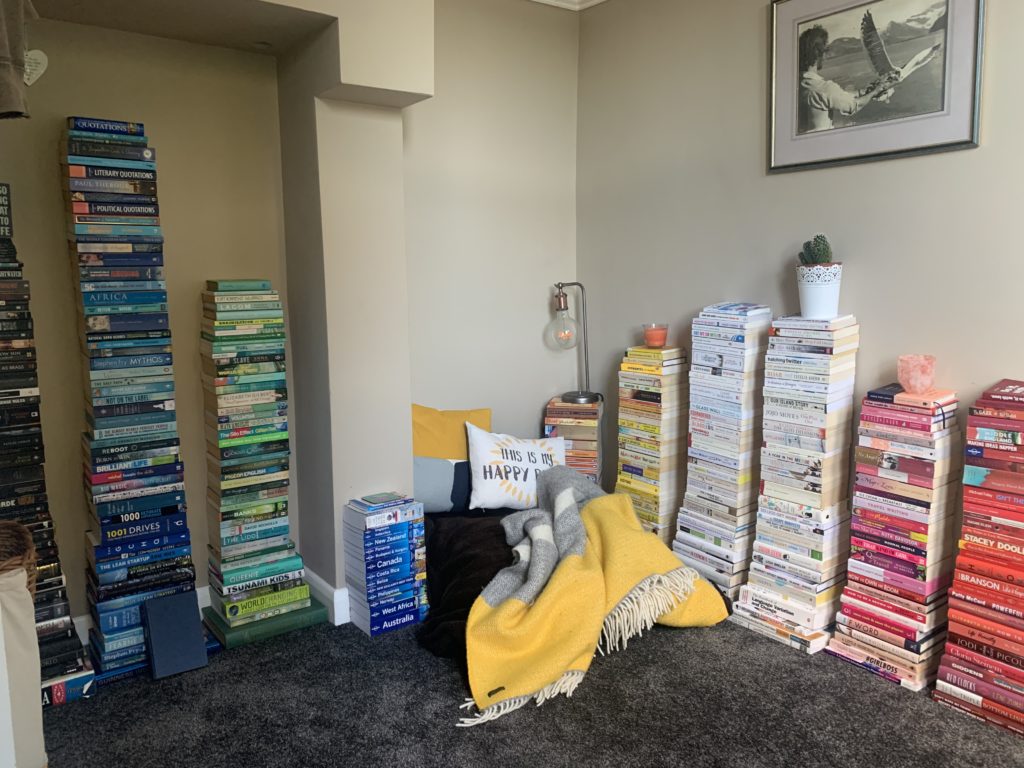
Step 5: Create your Cosy Corner
Save a spot for cushions, a chair, cosy things to snuggle into.
I had an old duvet that was a bit lumpy I was planning on taking to the skip/recycling (when it opens again), but decided to put an old duvet cover on and then cover that in blankets, with pillows and cushions too to make it extra cosy.
Once you’ve got your cushions and blankets, make sure you’ve got a light, maybe some candles (if safe)… and of course a coaster for your tea or glass of wine.
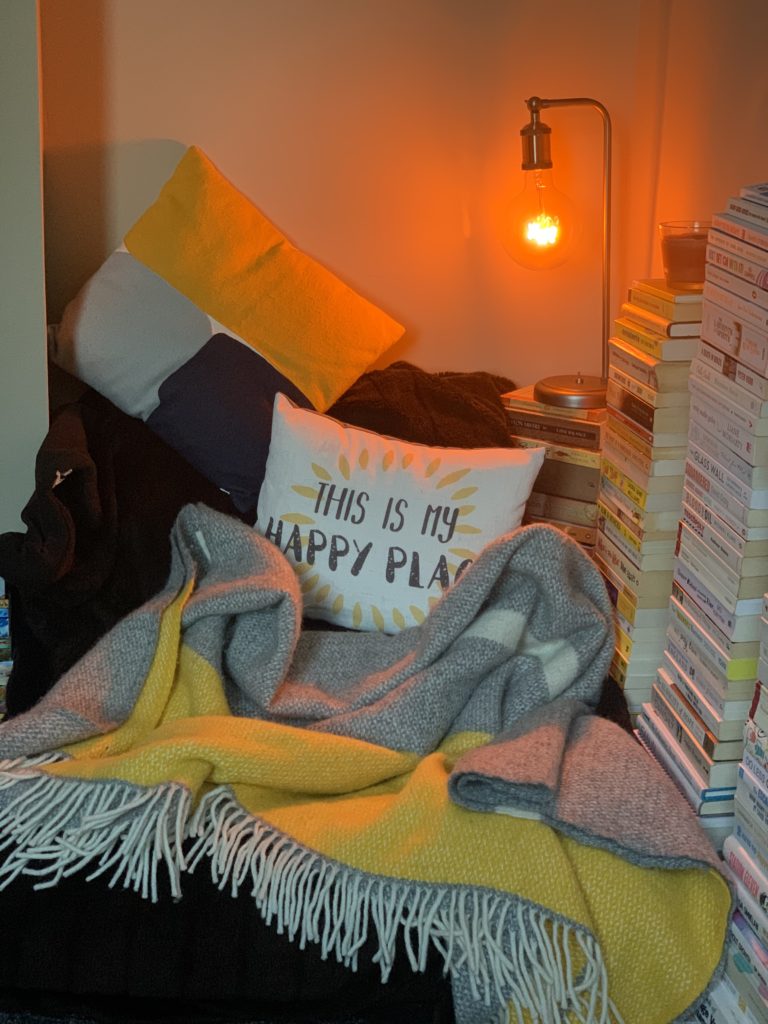
Step 5: Read and Relax
This is the most important part. Get cosy, crab a cuppa or a chilled glass of Sauvignon and snuggle into your reading nook without bookshelves.
Who needs shelves and chairs anyway?!
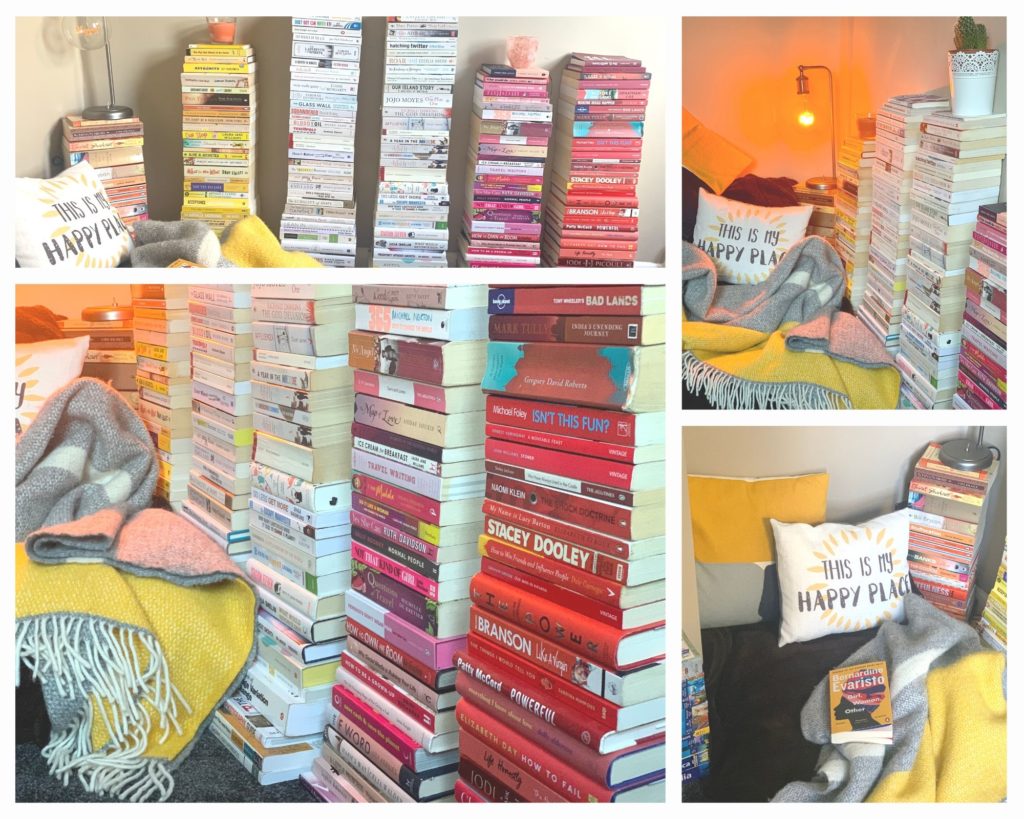
See any books you like in my reading shelves? I haven’t read all of these, but getting them all out of storage has made me want to spend the rest of my days sat in my nook and reading every book cover to cover. e
Have you got a reading nook without bookshelves? Want to create one?
